Why Bread Is the Perfect First Baking Habit
Baking habits usually fail for one of two reasons: recipes demand hours nobody has, or they need equipment nobody owns. Bread sidesteps both. A basic loaf asks for four ingredients, one bowl, and about fifteen minutes of hands-on work. Everything else is waiting — and waiting fits a busy schedule far better than active labor.
Bread also rewards repetition. The first loaf might be lopsided; by the tenth, the process feels automatic. That visible improvement curve is what turns a one-time experiment into a habit. And unlike fussy desserts, bread forgives a lot: slightly too much flour, a rushed shaping, a hot oven — the result is still warm, crusty, and unmistakably homemade.
The Short List of Equipment That Actually Matters
Forget the glossy gear lists — proofing baskets in three sizes, lame blades, stone decks. At the start, only a short, honest list of tools does real work.
- A large mixing bowl. Anything deep enough to hold a growing ball of dough without spilling over the sides. Metal, glass, or ceramic all work.
- A kitchen scale. Volume measurements are notoriously inconsistent for flour — a "cup" can vary by 30 percent depending on how it was scooped. A basic digital scale removes that variable entirely and is the single biggest upgrade a beginner can make.
- A Dutch oven or any heavy lidded pot. This is the closest thing to a secret weapon. Trapping steam inside the pot during the first half of the bake is what creates a crackling, golden crust. An oven-safe pot with a tight-fitting lid, rated for 450°F (230°C), does the job.
- A clean kitchen towel or two. For covering the dough while it rests and rises.
Everything else — proofing baskets, bench scrapers, scoring blades — can wait. A bowl lined with a floured towel proofs dough perfectly well, a butter knife divides it, and kitchen shears slash the top. Add specialty gear only once baking is clearly a habit; a drawer of unused tools becomes its own clutter.
The Four Ingredients and What Each One Does
Every basic bread on earth is some version of flour, water, yeast, and salt. Understanding the job each one does makes every recipe less mysterious and every mistake easier to diagnose.
Flour provides structure. All-purpose makes a softer crumb; bread flour, with higher protein, gives a chewier texture and bolder crust. For a first loaf, all-purpose is perfectly fine.
Water hydrates the flour and wakes up the yeast. Lukewarm is the target, around 100–110°F (38–43°C). Hot water can kill yeast — one of the most common reasons dough refuses to rise. When in doubt, go cooler; yeast tolerates cool water far better.
Yeast is the living engine. Instant dry yeast mixes straight into the flour — no proofing step, which makes it the best beginner choice. One standard packet (2¼ teaspoons, 7 grams) reliably leavens a loaf from 500 grams of flour.
Salt does far more than add flavor. It tightens the gluten network, controls fermentation speed so flavor develops, and keeps the loaf from tasting flat. Do not skip it: two teaspoons per 500 grams of flour is a solid baseline.
That is the entire ingredient list. No sugar, no oil, no milk, no eggs — those belong to enriched breads, which are a later chapter, not a prerequisite.

Your First Loaf: A Weeknight-Friendly Recipe
A straightforward dough for a real evening schedule: mix after dinner, shape, and bake the same night. Hands-on time is about fifteen minutes; the rest is the dough working while you do yours.
Ingredients
- 500 g (about 4 cups) all-purpose or bread flour
- 350 ml (about 1½ cups) lukewarm water
- 7 g (2¼ tsp) instant dry yeast
- 10 g (2 tsp) fine salt
Steps
- Mix. In the large bowl, whisk the flour, yeast, and salt together. Pour in the water and stir with a wooden spoon until no dry flour remains. The dough will look shaggy and rough — that is correct.
- Rest (autolyse shortcut). Cover the bowl with a towel and let it sit for 20 minutes. This short rest lets the flour fully hydrate and makes the next step noticeably easier.
- Knead lightly. Knead 5 to 8 minutes on a lightly floured counter — push away with the heel of your hand, fold back, quarter-turn. Stop when it feels smooth and springs back slowly when poked; slightly sticky is fine, so resist adding more flour.
- First rise. Return the dough to the bowl, cover it, and leave it in a warm corner of the kitchen for 60 to 90 minutes, until roughly doubled in size. The top of the refrigerator is a classic warm spot.
- Shape. Tip the dough onto the counter, gently press out the large air bubbles, and fold the edges into the center to form a round. Flip it seam-side down, cup your hands around it, and drag it lightly across the counter to tighten the surface.
- Second rise. Place the shaped loaf seam-side down on a sheet of parchment paper, cover it, and let it rest 30 to 45 minutes while the oven heats.
- Bake. Put the Dutch oven (lidded) in the oven and preheat to 450°F (230°C) 30 minutes ahead. Slash the loaf, lower it into the hot pot on its parchment, cover, and bake 20 minutes. Uncover and bake 15 to 20 minutes more, until deeply golden.
- Cool. Move the loaf to a wire rack and wait at least 30 minutes before slicing. Cutting too early lets steam escape and leaves a gummy interior — the hardest step in the whole recipe is patience.
That first crackle as the loaf cools — the crust literally singing — is the sound of a habit being born.
The Real Challenge: Time (and How to Solve It)
Nobody quits baking because the bread tastes bad. People quit because a recipe collides with a Tuesday. The fix is not more discipline; it is choosing methods that bend around a schedule instead of demanding one. Keep hands-on time under about thirty minutes on weeknights, and save ambitious recipes for the weekend — that boundary is what keeps baking a pleasure instead of a second shift.
The no-knead overnight method
Reduce the yeast to a quarter teaspoon, mix the same four ingredients into a wet, shaggy dough in the evening — five minutes, no kneading — and leave the covered bowl on the counter overnight, 12 to 18 hours. In the morning, shape it, let it rest while the oven heats, and bake. The long, slow fermentation builds remarkable flavor with essentially zero effort, and the hands-on total stays under twenty minutes. This method alone converts more skeptics than any other trick in home baking.
The weekend batch strategy
Bake two loaves on a weekend morning and the habit feeds the week. One loaf for the weekend table, one sliced and frozen for weekday toast and sandwiches — homemade bread freezes beautifully for up to three months. Two loaves take barely more effort than one: same bowl, same oven, one extra shaping.
When Something Goes Wrong: Beginner Troubleshooting
Nearly every early loaf has a flaw with a boring, fixable cause. Here are the three beginners meet most often.
Dense, heavy loaf with a tight crumb
The usual suspects are under-rising or too much flour. Let the dough genuinely double — the dent from a poke should fill back slowly. And weigh the flour instead of scooping; a packed cup is the number-one density culprit. Also give the loaf the full bake time; under-baked loaves read as dense.
Dough that never rises
Check the yeast first. Water that was too hot kills it, and expired yeast will not perform — buy a fresh packet if in doubt. A cold kitchen is the other common cause; dough likes 75–80°F (24–27°C), and a chilly countertop can double rise time. Move the bowl somewhere warmer.
Burnt bottom, pale top
Bake on the middle rack; if the bottom keeps over-browning, slide a second baking sheet onto the rack below as a shield. A pale top usually means the lid came off too late — uncover a few minutes earlier so the crust can color.
Keep a three-line note per bake — flour type, rise times, oven temp. Patterns emerge fast, turning vague frustration into specific fixes.
Turning Baking Into a Habit That Sticks
Habits survive on low friction, not motivation. Set up the kitchen so that starting a loaf takes less effort than talking yourself out of it.
- Anchor it to something fixed. Mix the dough after dinner cleanup or shape it while morning coffee brews. A bake tied to an existing routine needs no willpower.
- Keep the ingredients visible. Flour, yeast, and salt on the counter or in one bin. Hunting through cupboards is where good intentions stall.
- Pick one recipe and repeat it. Bake the same simple loaf five or six times until the steps live in your hands. Mastery of one recipe teaches more than a tour of ten.
- Lower the stakes. A misshapen loaf still makes excellent toast. Perfectionism is the enemy of repetition; frequency is what builds skill.
- Bake for a reason. Bread for Saturday breakfast, rolls for a family dinner, a loaf for a neighbor. A small purpose on the calendar beats a vague intention every time.
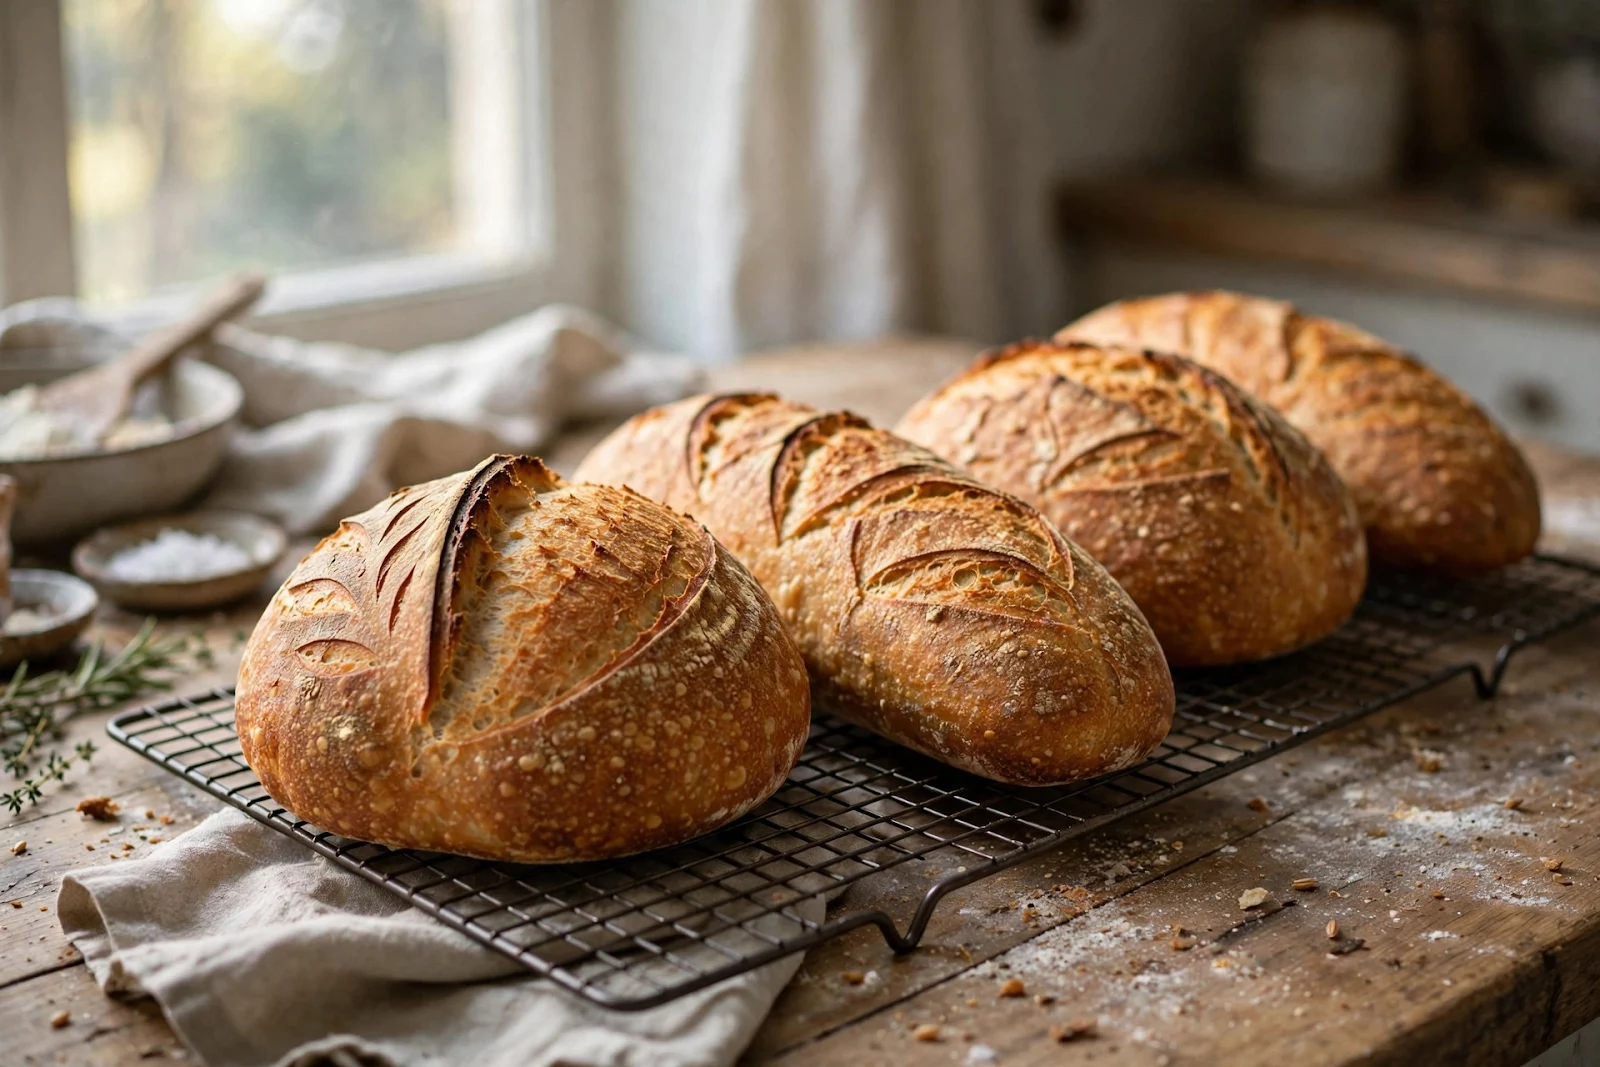
After a month of weekly loaves, the process stops feeling like a project. It becomes what you do — the way the kitchen smells on a certain evening, the rack by the window, the familiar rhythm of mix, wait, bake.
Storing Homemade Bread So It Lasts
Homemade bread has no preservatives, so it stales within two to three days at room temperature. Store cut loaves cut-side down on a board or in a paper bag — plastic softens the crust. Never refrigerate bread; cold accelerates staling. Beyond a couple of days, slice and freeze in a sealed bag; a frozen slice toasts up nearly fresh. Day-old bread makes outstanding toast, croutons, breadcrumbs, and French toast.
The Payoff Is Bigger Than Bread
A home baking habit quietly changes the rhythm of a household. There is always something warm on the counter, something to slice for breakfast, something to bring when visiting friends. The skill compounds: once a basic loaf is second nature, pizza dough, rolls, and focaccia are small steps, not leaps. Start with one recipe, one evening a week, fifteen minutes of hands-on work. The bread will handle the rest — and so, it turns out, will you.
